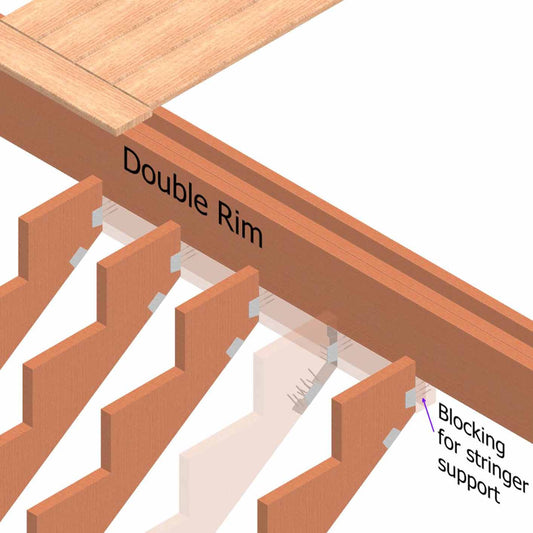
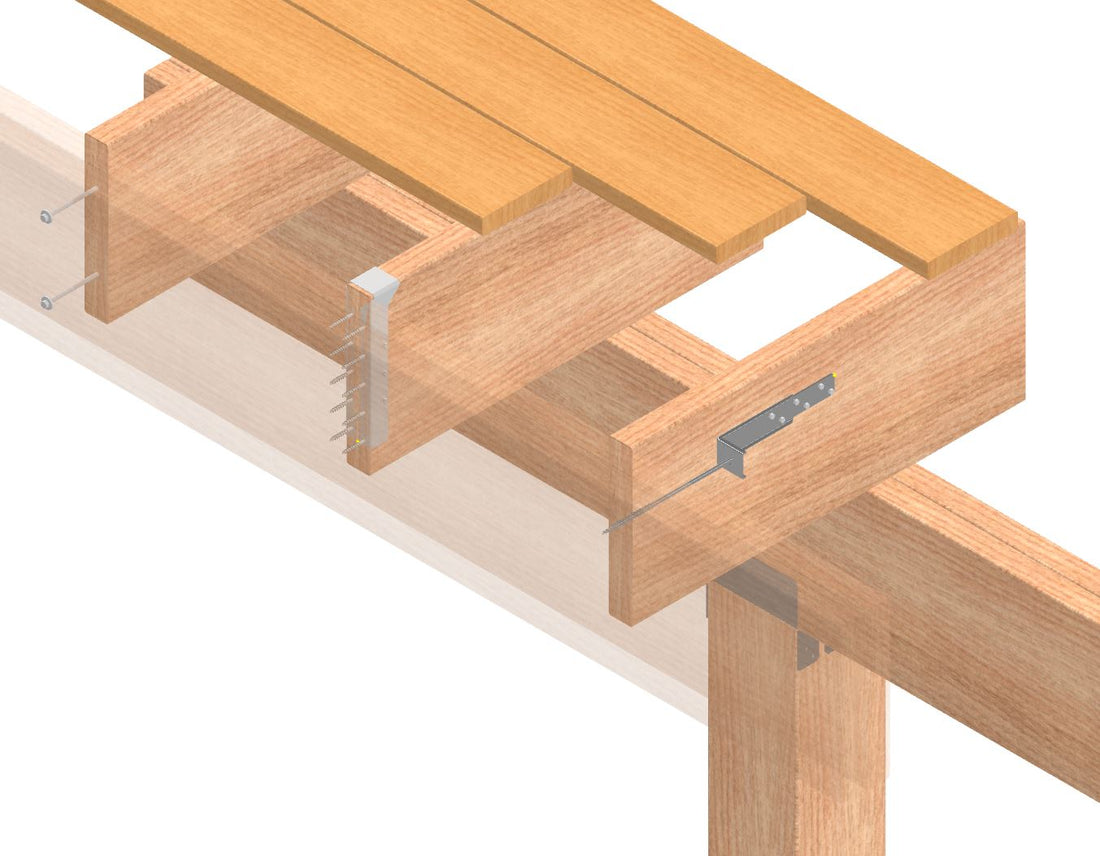
Decks that utilize a dropped beam (supporting the joists from below) need a rim that is attached solidly to the cantilevered joist ends. Since it's not viewed as a supporting member, it may get overlooked and not secured properly.
But it should absolutely be given just as much attention as the rest of your beams and joists, and given more than just a few nails per joist. This front rim is what the railing attaches to, meaning the forces acting on the rail are also being applied to the front rim, but with even more leverage. Temporarily, this rim board can get nailed on, but should be given additional screws or brackets to add strength once it's in place.
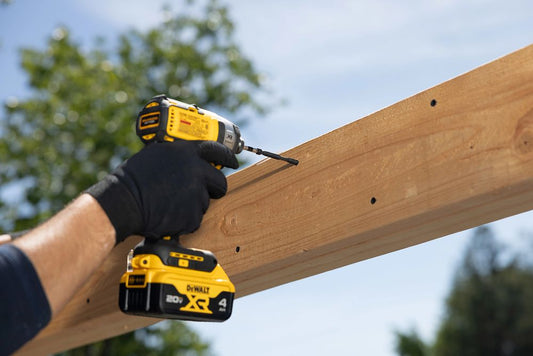
Running any fastener into the end grain of wood is much weaker than fastening in the side of a board, since the fastener (when pulled) tends to just slide along the grain fibers lengthwise instead of being sandwiched and stuck between them.
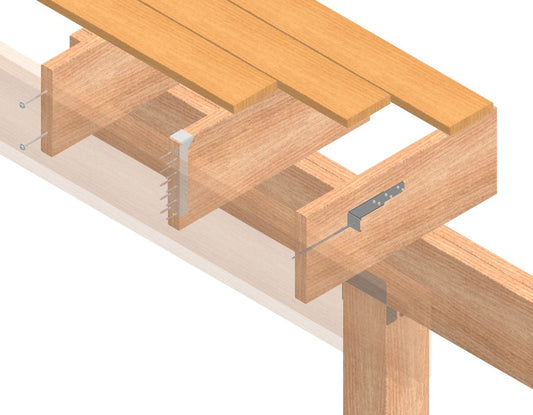
Joist hangers may seem counterintuitive in this application, but using them upside down can work in your favor (middle joist in the photo). If you secure hangers to the beam before it's in place, you can hang the beam onto the joists using the hangers. The traditional up-down forces won't be applied to the hanger, but it does give good lateral strength, and most importantly a bracket that allows for effective fastening.
A tension tie, like on the rightmost joist in the photo, is the strongest way to secure the front rim. Simpson's DTT1Z bracket with 8" screws is an easy-to-find choice for this. A tension tie isn't needed on every joist, but it's wise to use one every 4-6 feet, preferably close to where the rail posts will attach to the rim.