Hopefully, you're reading this and haven't started on your deck yet. But if your decking is down and you're troubleshooting, we still have a few ideas for you.
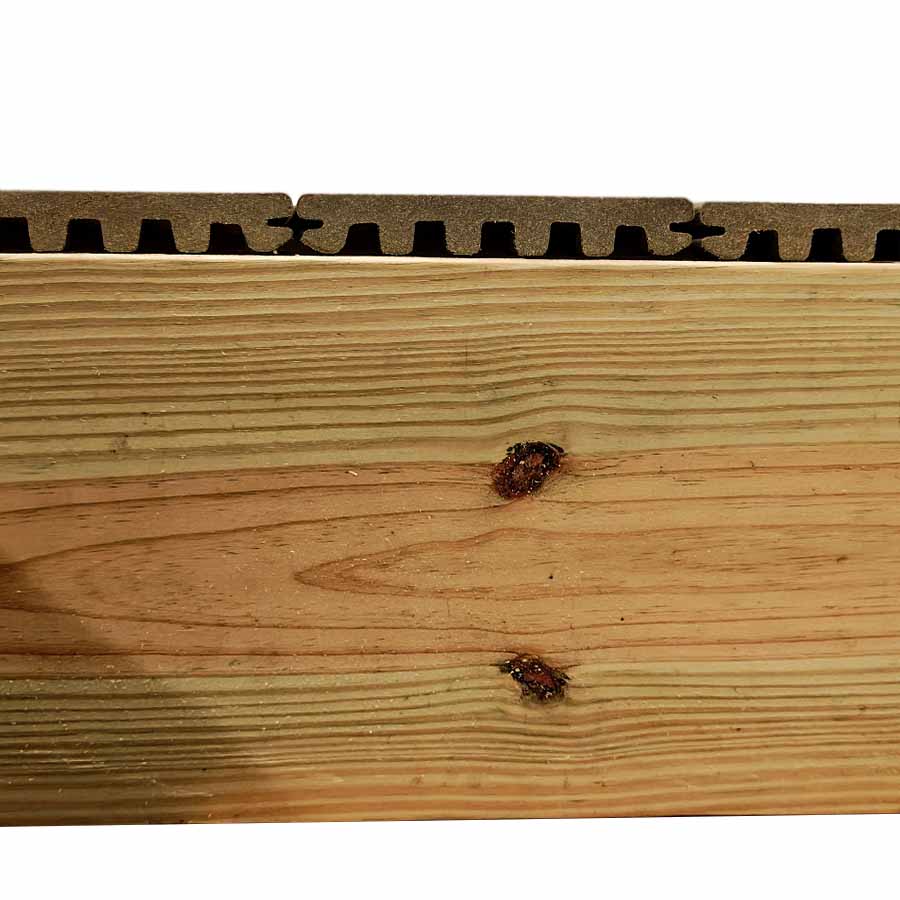
You may have chosen to rebuild your deck because you love the clean look of low-maintenance decking, and want a clean, finished look across the entire deck, including the edges. But if you chose not to add a border for convenience, you may have discovered that the unsightly gray end cuts on the deck boards are visible, and need to be addressed.
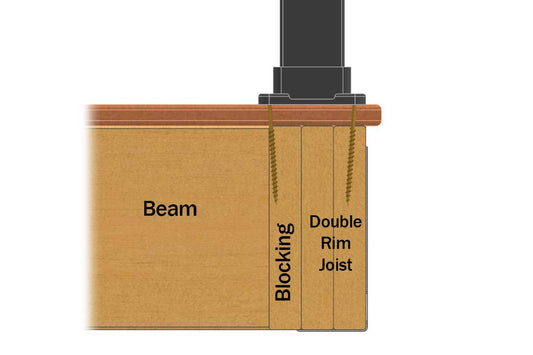
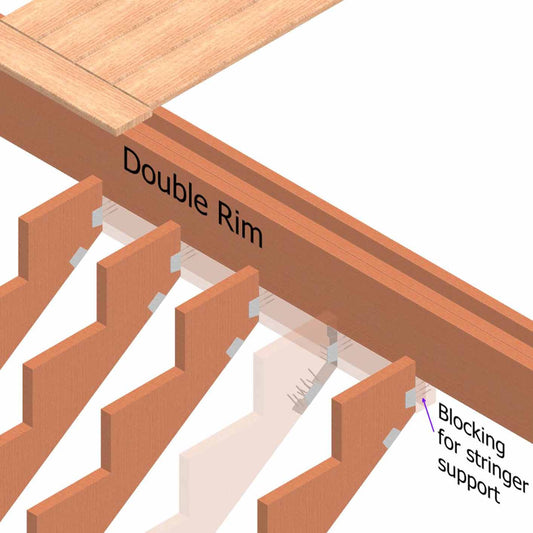
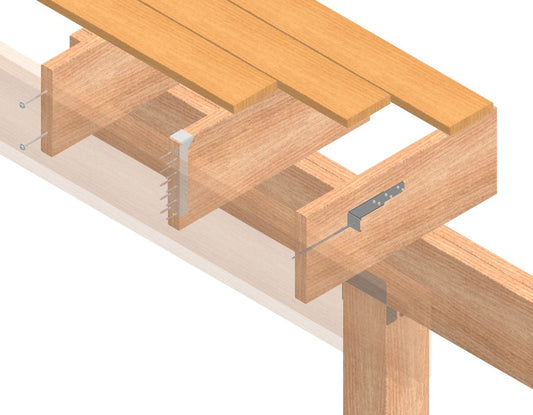
The most common solution to hiding the board ends is a picture frame, also known as a border. This is usually one or two boards that run along the outer edge of the deck. These are non-grooved deck boards, and are often a different color to add a nice accent to your deck colors. This is a clean and good look, but does require some extra framing and blocking.

You may have also discovered that some scallop-back deck boards are hard to balance on your double rim, and need to figure something else out. Another alternative for scalloped boards is to rip-cut a strip of decking, between 1"-3" wide, with one edge still intact. This alternative picture-frame can be screwed it to the ends of your deck boards. The cut face of this board rip joins cleanly to the deck board ends, provided that your board ends are even with each other.

One more solution would be to raise your fascia boards to be flush with the deck surface. This usually means skipping any sort of border, running the deck boards to the edge of the framing, thus saving on any border framing you might've added.

The least attractive but easiest solution is to paint the board ends. This is usually the way to go if your main concern is color, and don't care about the end profile being visible. Depending on the board composition and paint you use, it may or may not last as long as your decking.