
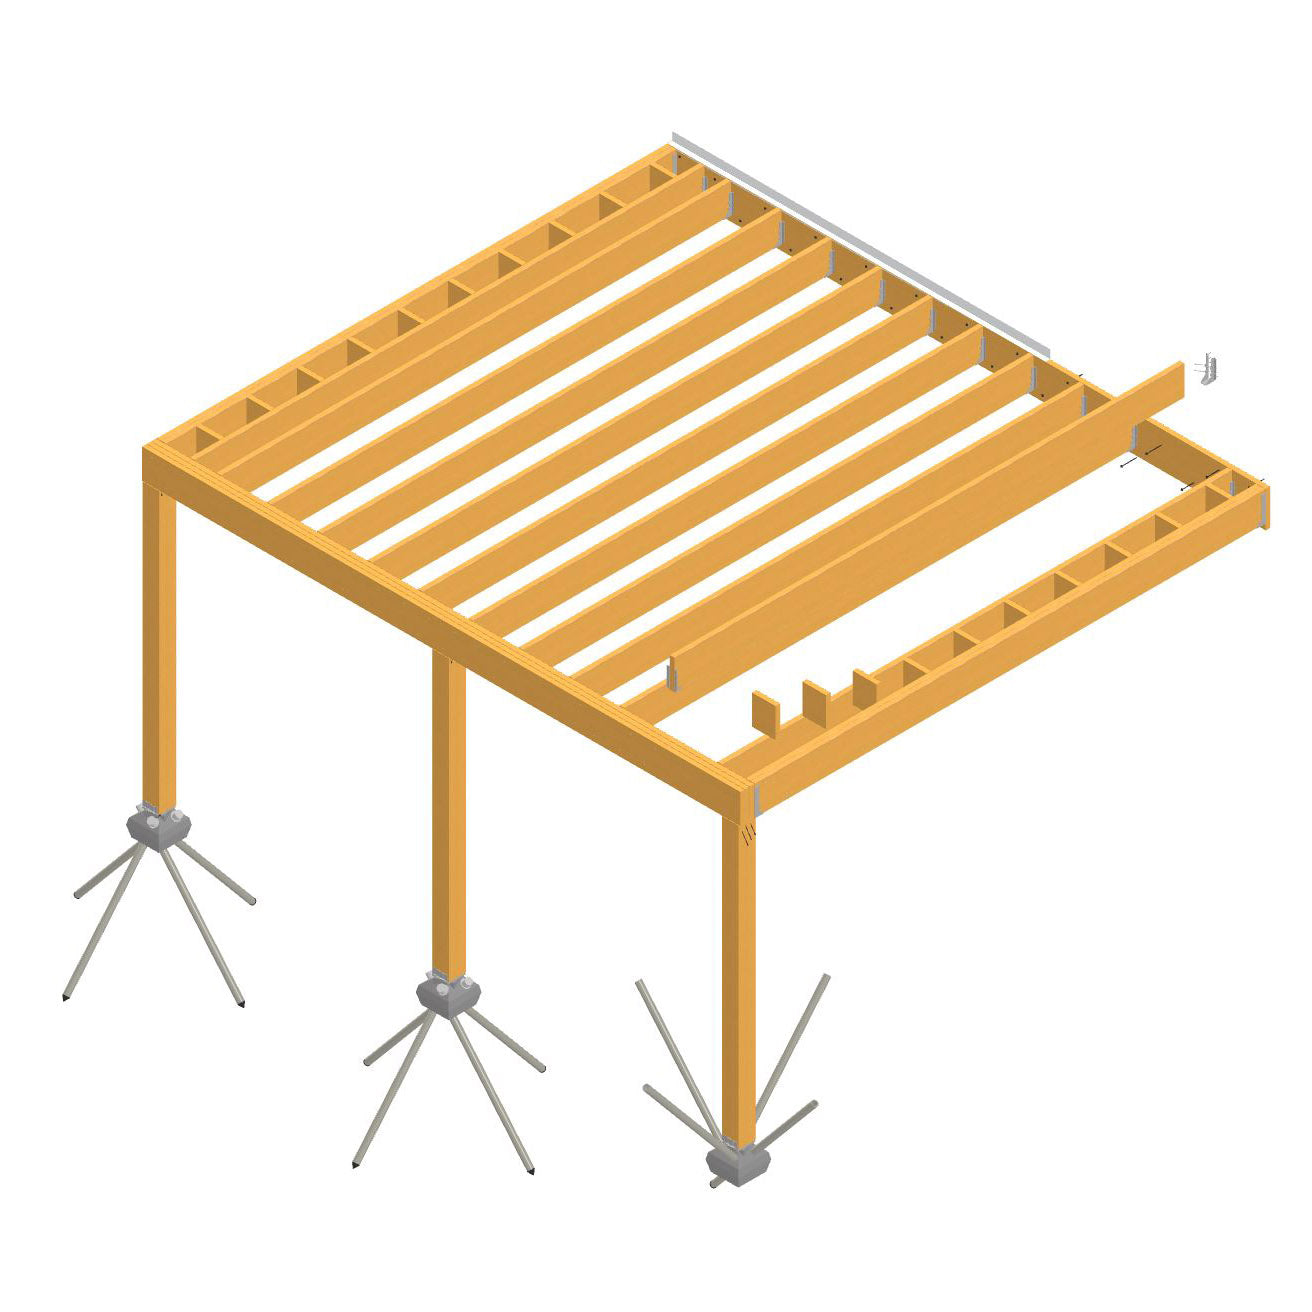
Deck Frame Design
Deck framing practices have changed over time, and even vary depending on who built it. The materials and methods below can be used to build a deck that satisfies international building codes, and will be accepted by nearly all city inspectors.
Ledger
-
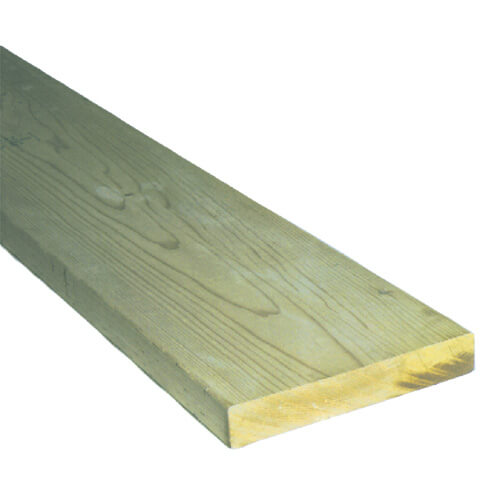
Material
Should be a treated board the same size or taller than the joists. Southern yellow pine is commonly used, we recommend using a 2x12 board for a ledger. The extra two inches on the bottom sits even with the house's wall plate, which is a consistent and solid frame piece for the bottom row of ledger lags to sink into.
-

Fasteners
A ledger board should be secured to a wood-framed house wall with lag bolts or heavy wood lag screws that are at least 5 inches long. If a ledger is secured to a masonry or brick wall, through-bolts or hardware specifically for attaching to masonry should be used.
-

Flashing
Vinyl, copper, aluminum, or galvanized steel flashing should run down the house wall above the ledger, then "waterfall" over the ledger and let water drip off the flashing "drip edge". Water should not be running down the face of the ledger, as it may cause rot between the bottom of the ledger and the house.
-

Tape
Sealing the flashing to the house wall under the siding ensures that no water runs behind the flashing and ledger, keeping your ledger rot-free.


Joists
-

Material
More on Joist SizesDecks can use anything from a 2x6 to a 2x12 for the joist boards, with a 16" on center spacing at most.
If using 2x8s, they should span no more than 12 feet between supporting points for a deck that feels solid. 2x10s can be used 16" O.C. to span up to 15-1/2 feet.
2x10 joists work great for most deck sizes, because of their span capabilities and stability.
-

Joist Hangers
Joists should be connected at the ledger and front rim with joist hangers.
The cross-nails or "shear nails" on standard hangers should be 3 inches long and galvanized, they should NOT be roofing nails or have an interior finish.
-

Attaching Single Joists to Drop Beams
Joists can be "toenailed" into the beam as the attachment method, but does not meet modern deck building standards or code requirements. a connector with galvanized nails or a special truss screw should be used to keep the joist attached, vertical, and spaced correctly.
-
Attaching Double Joists to a Ledger or Flush Beam
When a double rim joist is flush with the edge of the ledger and beam, we recommend a LUC210-2Z concealed hanger, nailed into the header with heavy galvanized hanger nails.
-

Attaching Double Joists to Drop Beams
Since the double rim sits at the edge of the beam, using an H2.5AZ connector adds uplift strength and keeps the rim from slipping off the edge of the beam. a truss screw like an SWD is also a good attachment method.
-
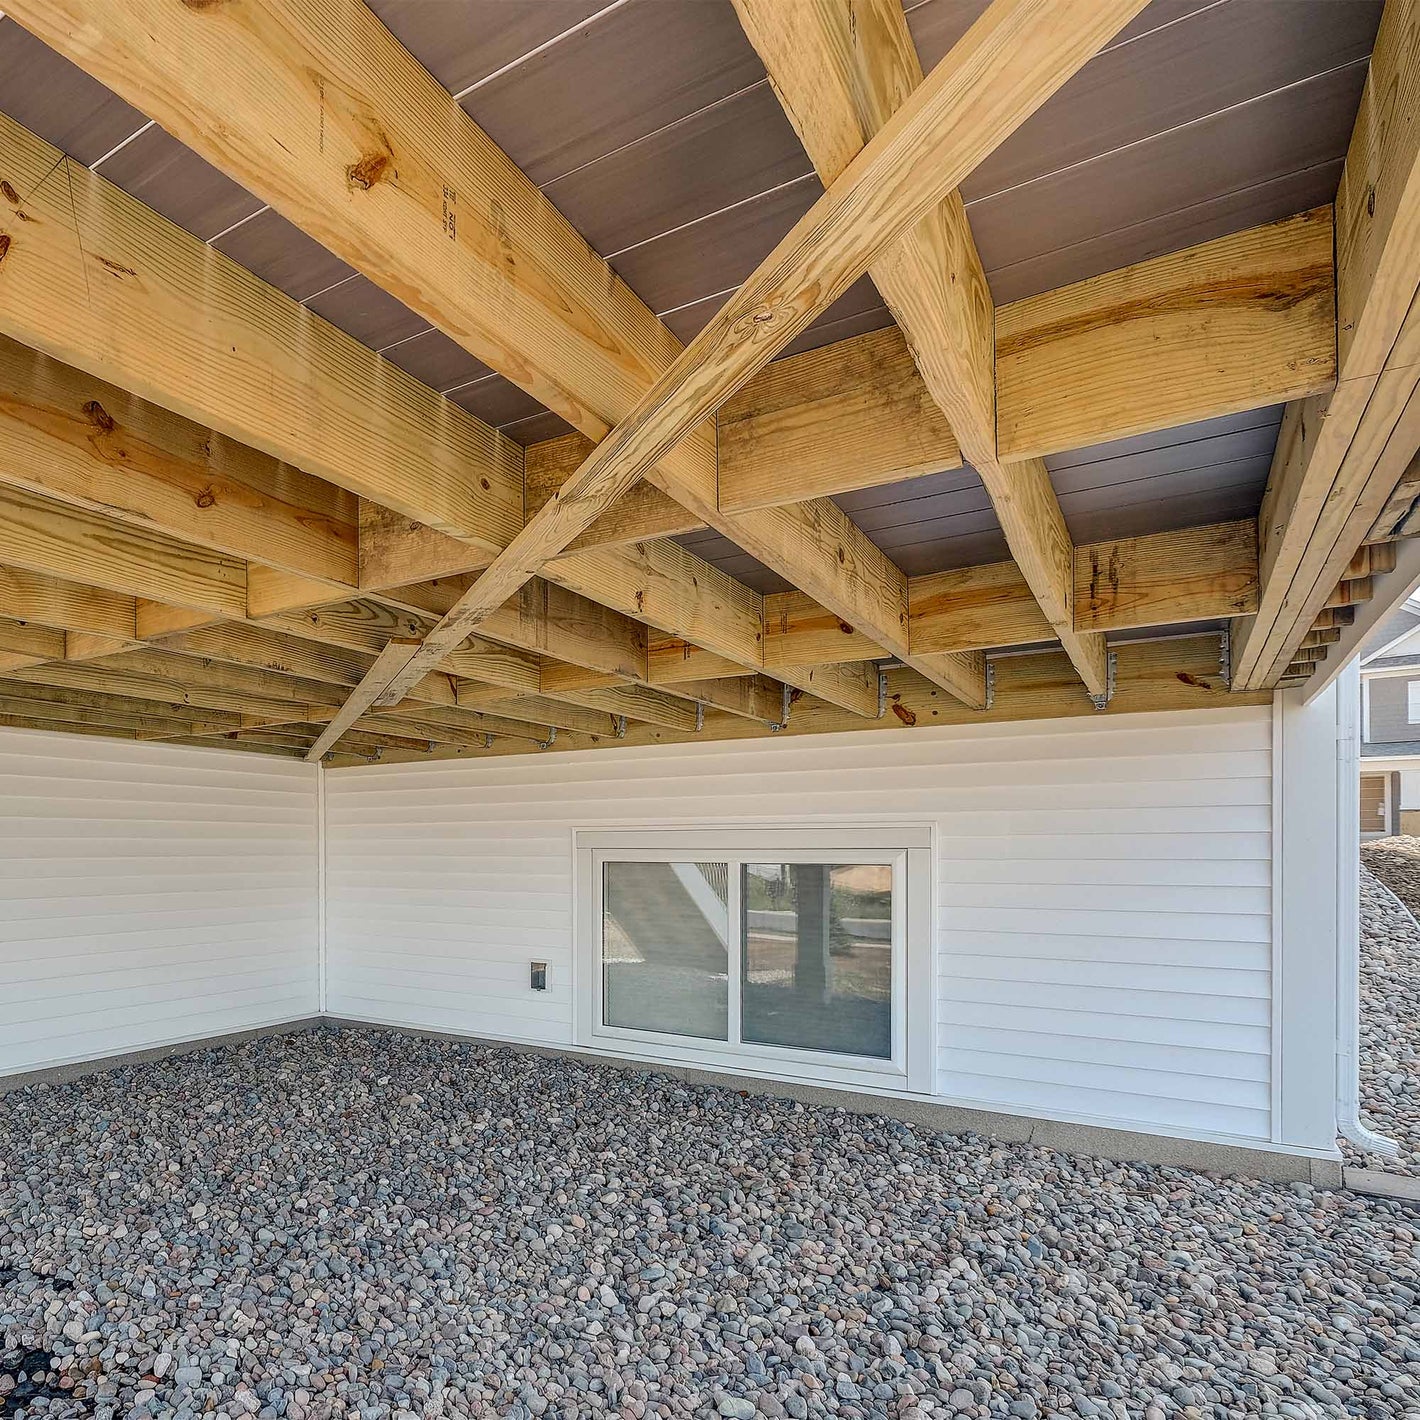
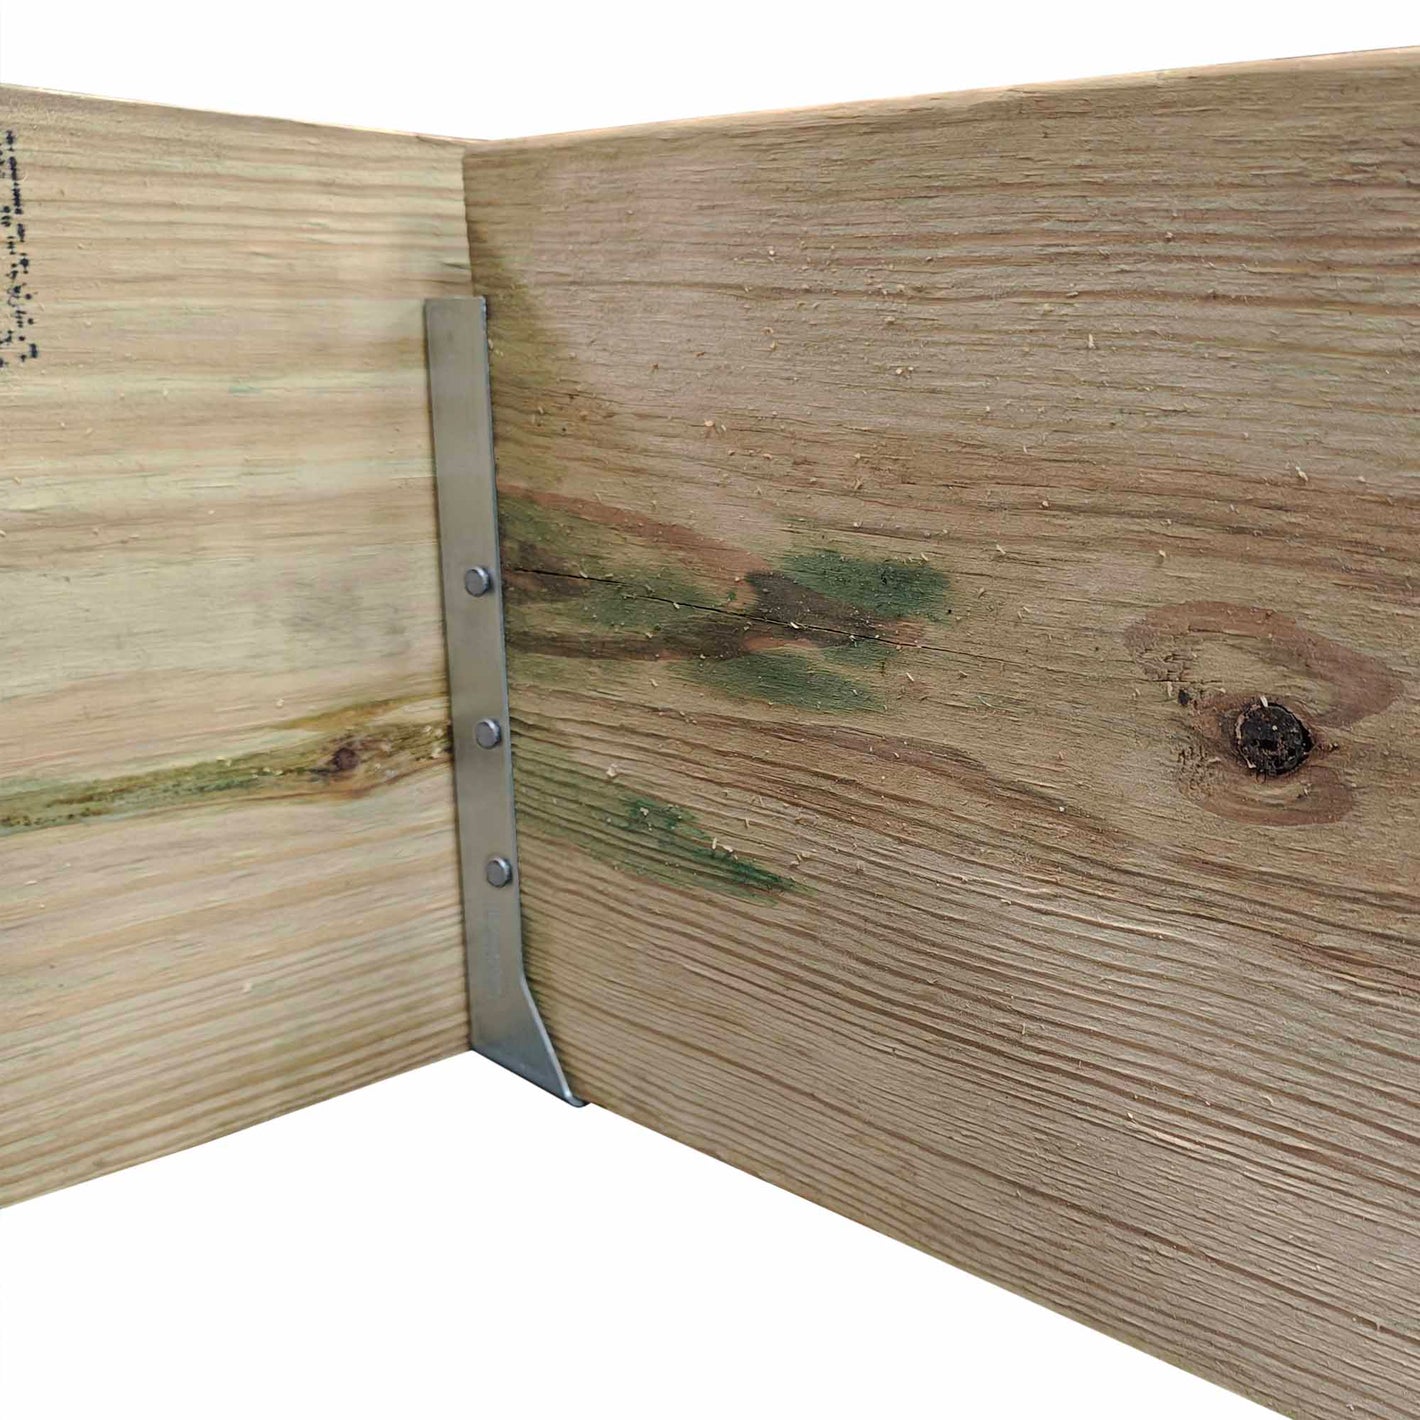
Sway Bracing
A 1x4 run from corner-to-corner helps keep a deck square, and adds some lateral stability. It should be fastened to the underside of the joist with screws or 3" galvanized nails


Beams
-

Material
Working With Multiple Beam LayersThe appropriate beam size for a deck changes with the number of beams that support a joist. Most decks we design have a beam supporting the joists at one end, with the other end being attached to the ledger. a triple 2x10 beam is a good size on a deck where the joists are less than 18' long, and the beam is supported every 8-12 feet.
-

Securing a Flush Beam to a Post
The supporting post for a beam should be attached with a special connector or truss screws like the SWD screw. This keeps the beam vertical and keeps the post from being knocked out from below it.
-

Securing a Drop Beam To a Post
Drop-Beam-To-Joist connectionJoists aren't connected to a drop beam with a joist hanger, which makes the beam more susceptible to tipping. A special "post cap" connector is the best way to secure a drop beam to the 6x6 it rests on.


Posts and Footings
-

Material
6x6 wood posts are commonly used to support deck beams, which provide more strength than 4x4s, and is a more fitting size for normal deck sizes. 4x4s tend to bend and twist more easily, and can look more disproportionate to the deck frame.
-

Securing a Post to Footing
6x6 posts should be connected to a Diamond Pier or concrete footing with a metal post base. A post that is simply set on top of a concrete footing has no uplift strength, which is not code compliant.
-

Footings
Concrete cylinders, buried concrete bell footings, Diamond Piers, and helical footings are all good footing types, provided they are done correctly. We prefer Diamond Piers for a good DIY footing option, or helicals when an ultra-high footing capacity is required.


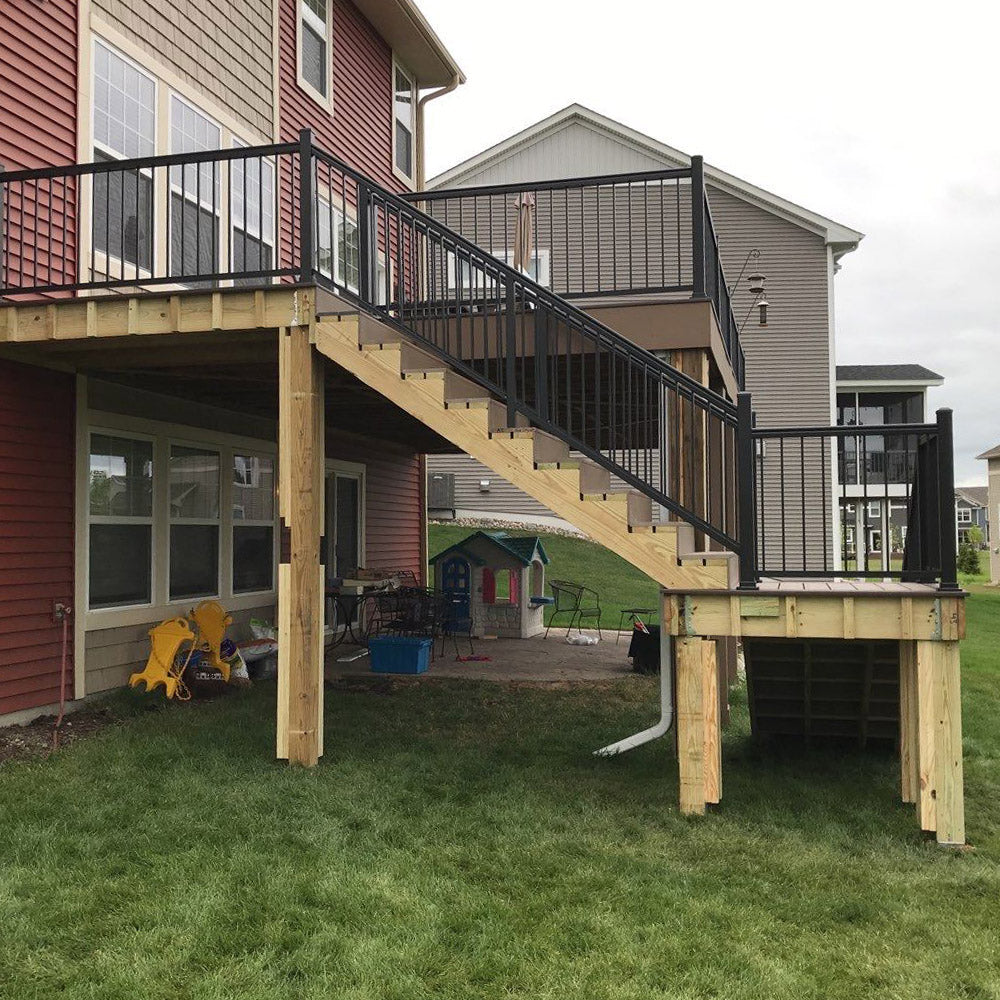
Stair Framing
Framing a stair for low-maintenance decking is different than framing for wood decks or interior stairs. Below are our preferred methods and materials for various stair heights and types..
Stringers
-

Material
Treated 2x12 lumber or LVL is the most common size of lumber used for stringers cut close to a 7-1/2"x11" rise/run. Using a smaller 2x cuts too much out of a stringer and leaves too narrow of a spine to be stable.
-

Stringer Spacing
Most low-maintenance decking requires the stringers to be spaced at about 12-1/2" on center, and may require a "subtread" laid horizontally across the stringers.
Since most modern railing choices are surface-mounted, we recommend a 48" wide stair so that the finished width between rails and posts is always greater than 36", to comply with code requirements.
-

Subtreads and Stringers
On 48" wide stairs with more than 13 rises, we recommend at least 5 stringers without subtreads. On stairs with fewer than 13 rises, we recommend 4 stringers with subtreads. Subtreads may be required with decking lines like Trex Select or Timbertech Terrain, regardless of stringer spacing. Adding more stringers increases strength, which is more crucial for longer stair runs.
-

Mid-Support
A "mid-beam" halfway down a straight stair removes some of the bounciness from it, which may be a concern if the stair is extra long, like 14-18 feet. A beam brace can be avoided by adding more stringers.
-

Connecting Stringers to Deck Rim
More about connecting stringersWhen the edge of the deck acts as the first step, the top of the stringers will only partially rest against the deck rim, so additional framing is needed. 2x4 or 2x6 can be screwed to the underside of the frame, and then the stringer can be connected with an LSCZ connector.
-

Joist Tape
Since the top surface of stringers are nearly all end grain cuts, it's more susceptible to rot and water damage. If you don't put joist tape on any of your deck joists, it may still be a good idea to cover your stringers, since they always seem to be the first thing to rot.


